Finally, the Amazon Echo


Finally, the Amazon Echo
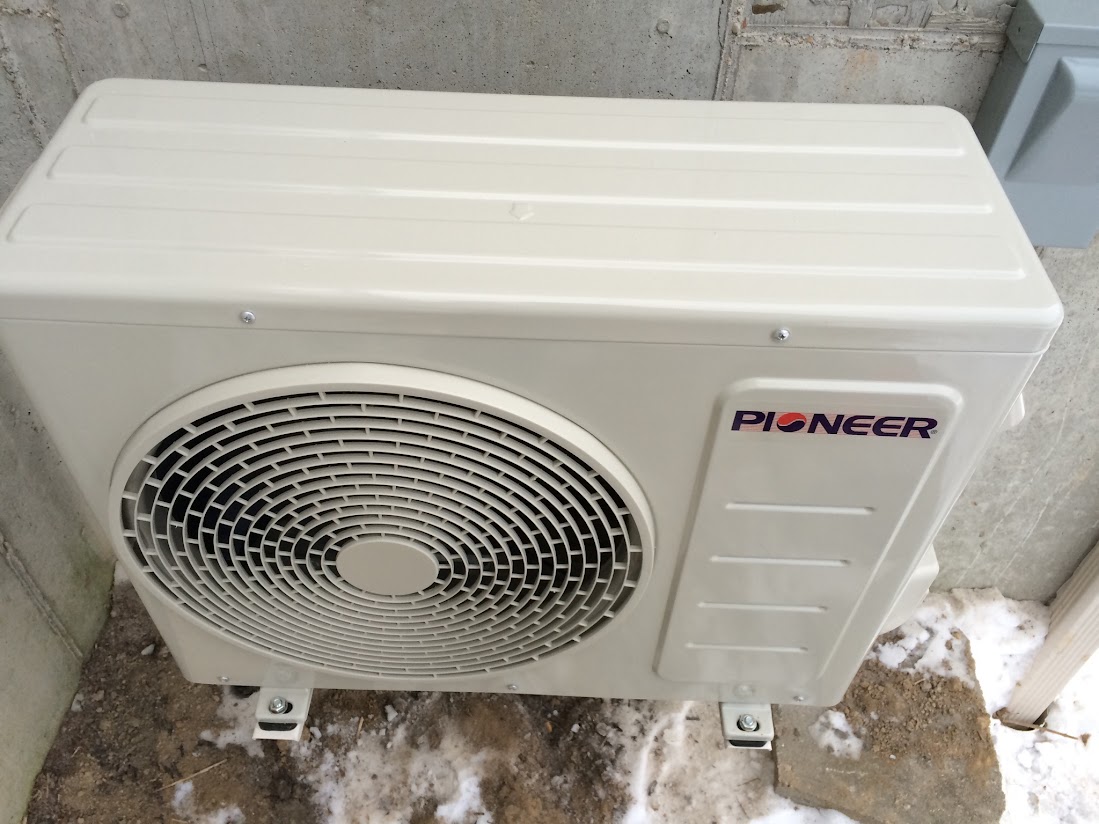
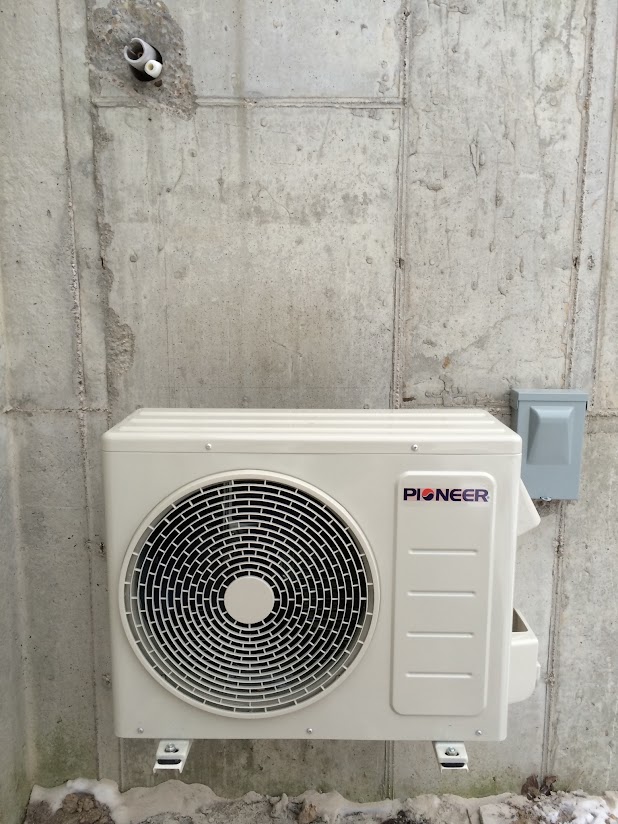
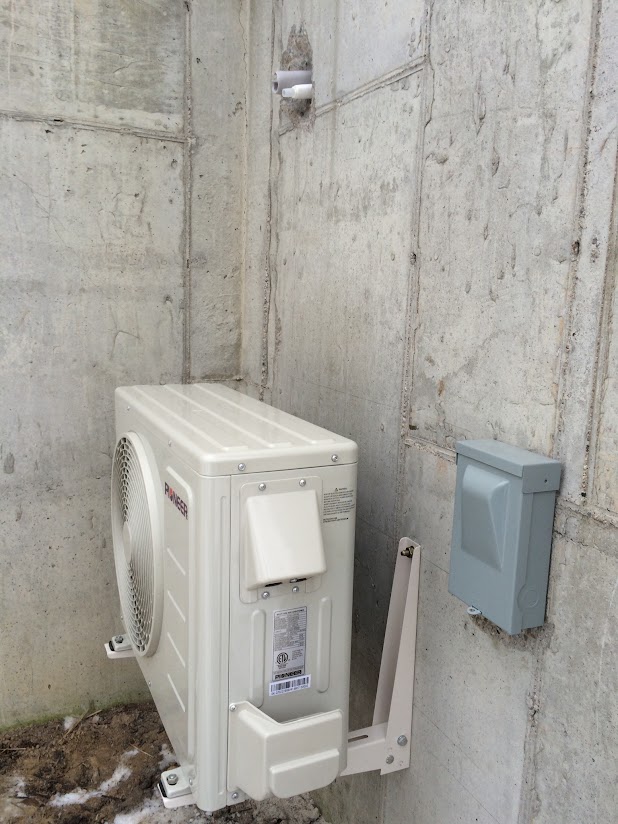
So, I am in the process of installing a new ductless mini split Pioneer air conditioner, similar to this one
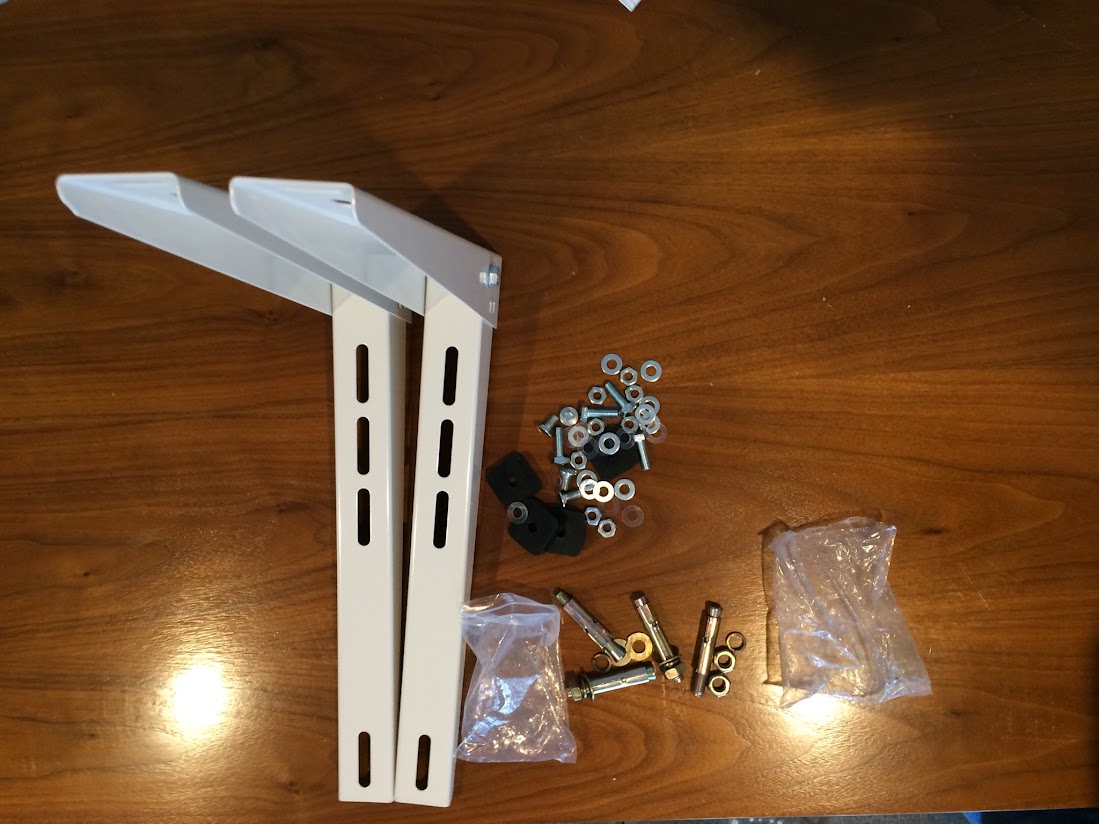
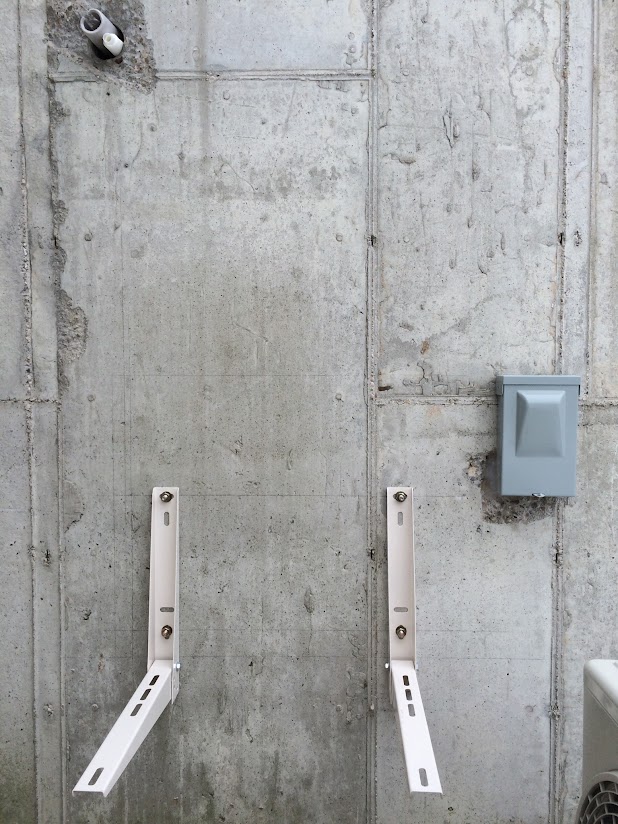
. One of the steps involved was to set-up these mounting brackets
to the exterior of concrete foundation wall, where the condenser will be secured. Unfortunately the mounting brackets came without any installation instructions so it took a bit of figuring out. Took about an hour and it was a pretty easy job.
Tools I needed:
hammer drill
Masonry drill bit 1/2 inch size
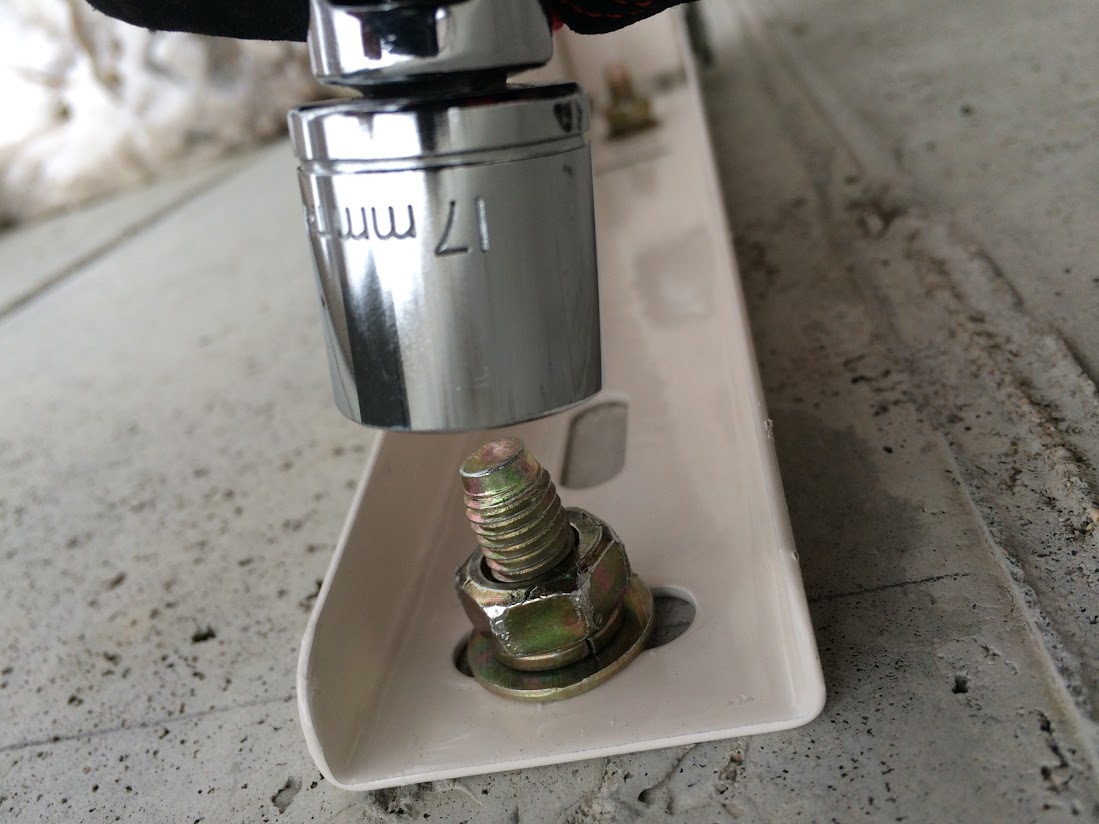
Socket wrench with deep 17mm socket (or possibly 11/16in would have also worked)
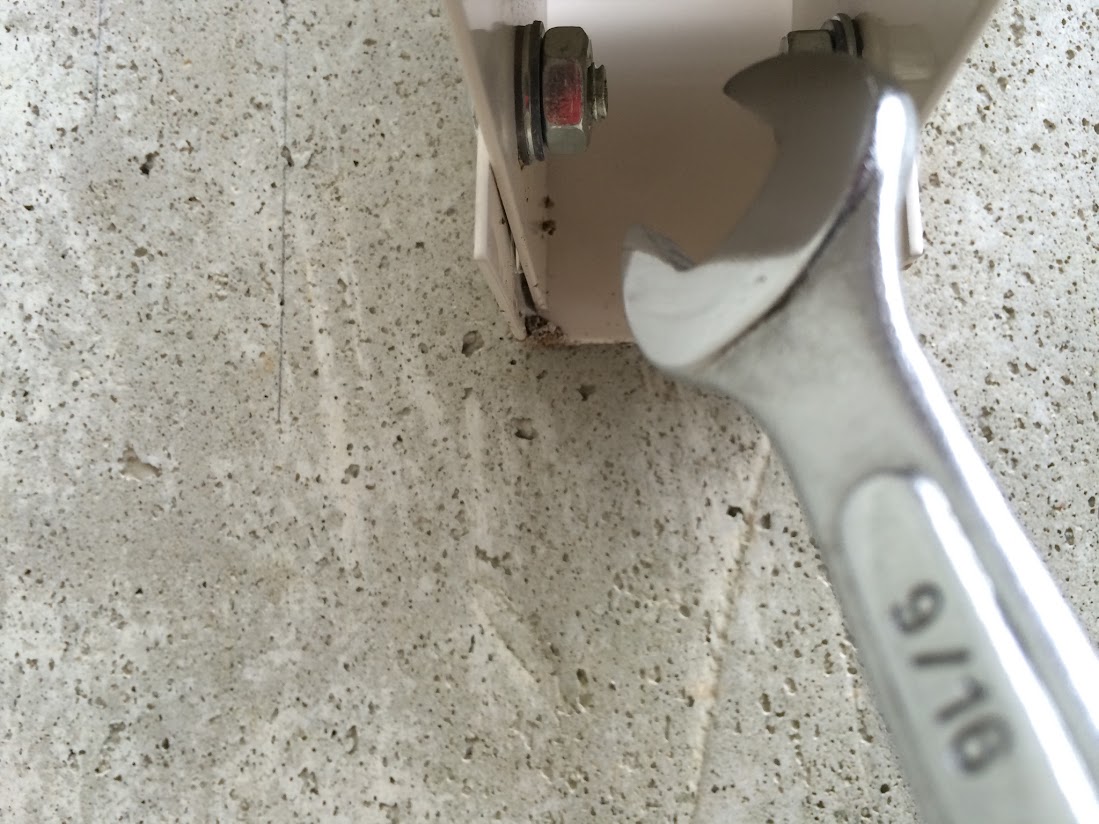
Socket wrench 9/16 inch
Wrench 9/16 inch
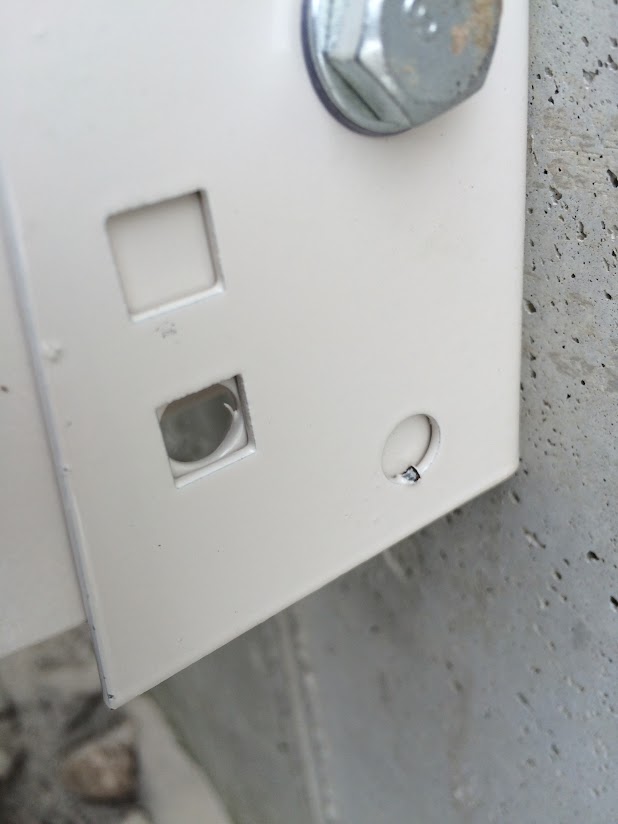
1. I unpacked the brackets and laid them out. The kit included the mounting brackets, masonry/concrete expansion anchors, rubber pads, bolts nuts, and washers.
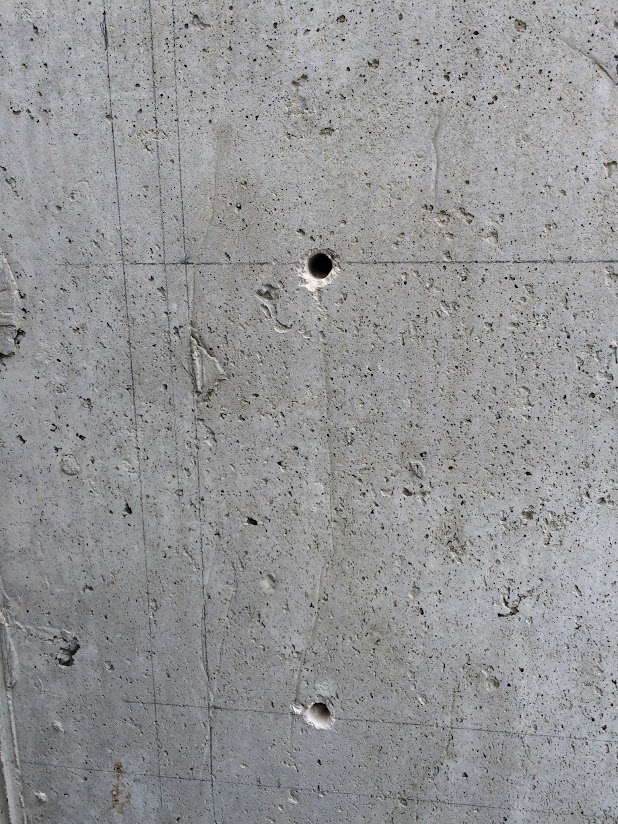
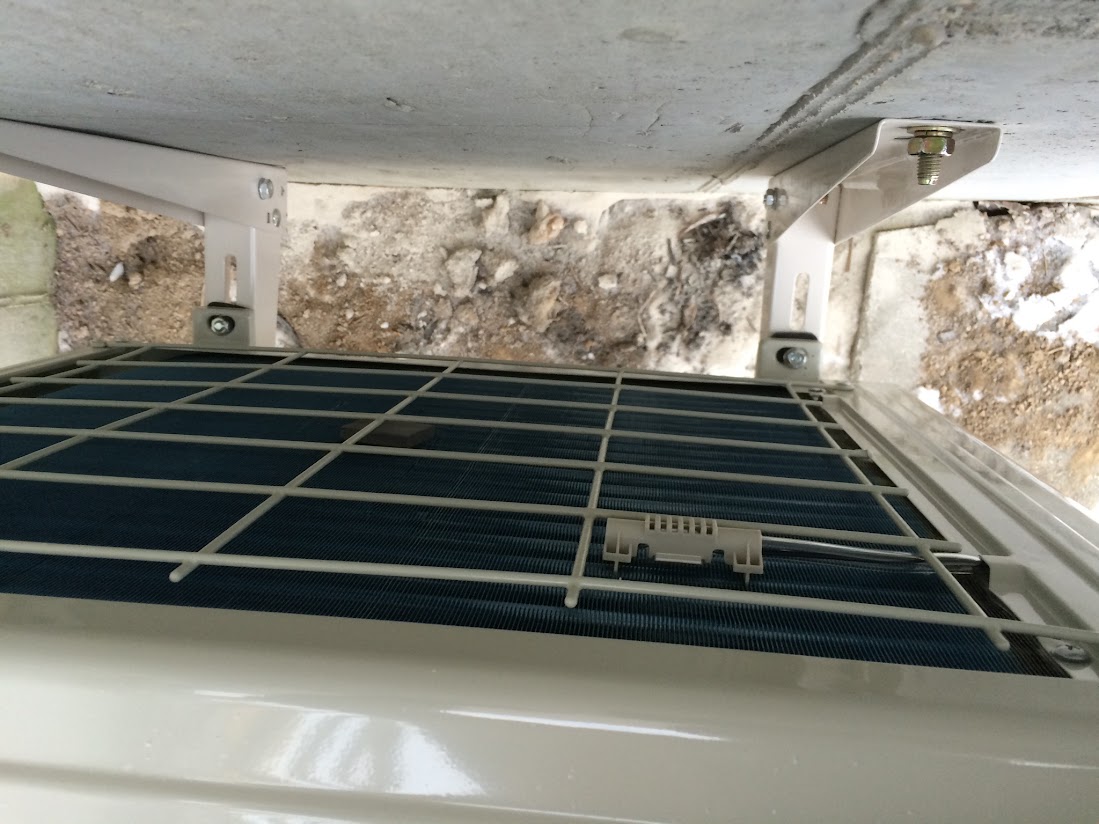
2. I measured the required distances from the side walls and any other objects as per condenser manufacturer’s instructions (mine was at least 12 inches away from the walls or obstructions). Then I put the first bracket against the wall and mark the hole openings on the concrete. Measured the distance between the mounting “feet” of my condenser (mine was 18 inches across). Using a level, I drew two horizontal lines from markings I just made on the wall and marked the holes for the second bracket (18 inches away). Finally, I drilled the holes using a hammer drill and 1/2 masonry bit.
3. After holes were drilled, I Inserted concrete anchors in them, put up the brackets against it and tightened with provided washers and bolts using 17mm deep socket wrench (11/16 inch should have also worked but I only had metric with deep sockets). I tightened all bolts gradually before finally tightening them firmly. Level placed across the two brackets helped to ensure they were both plumb and level.
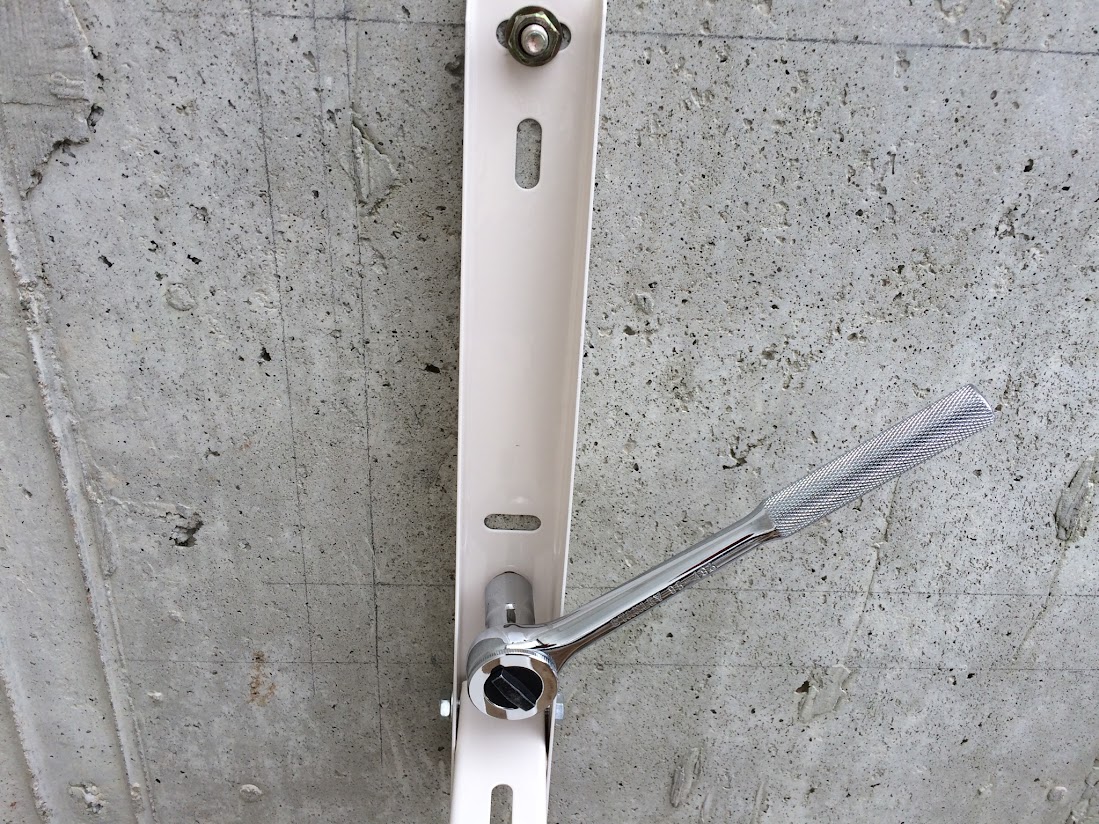
 4. Next I secured the brackets in open position using provided bolts, plastic and metal washers (to prevent rusting bolts against metal washers) and nuts. I needed a 9/16 inch wrench for that
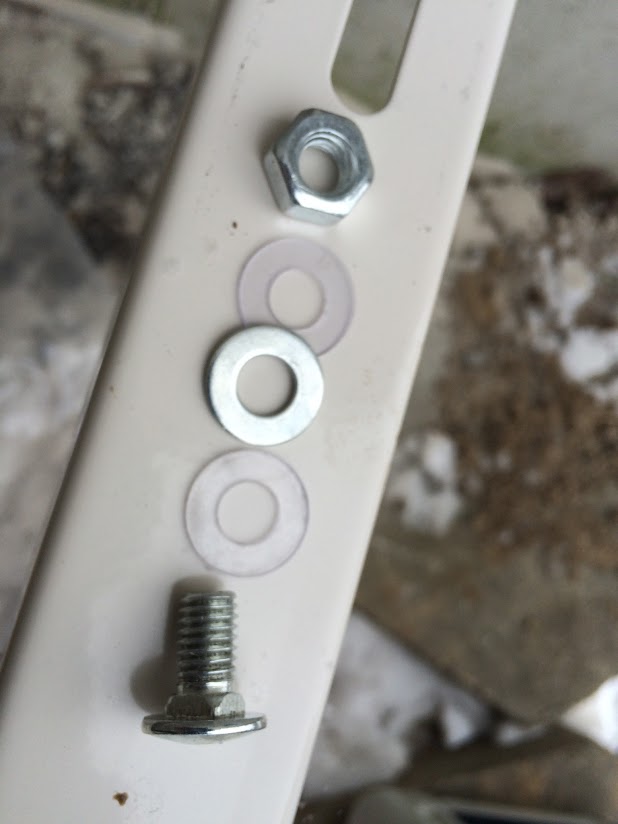

5. Next, using included longer bolts and washers I put rubber paddings – for now, held by friction only.
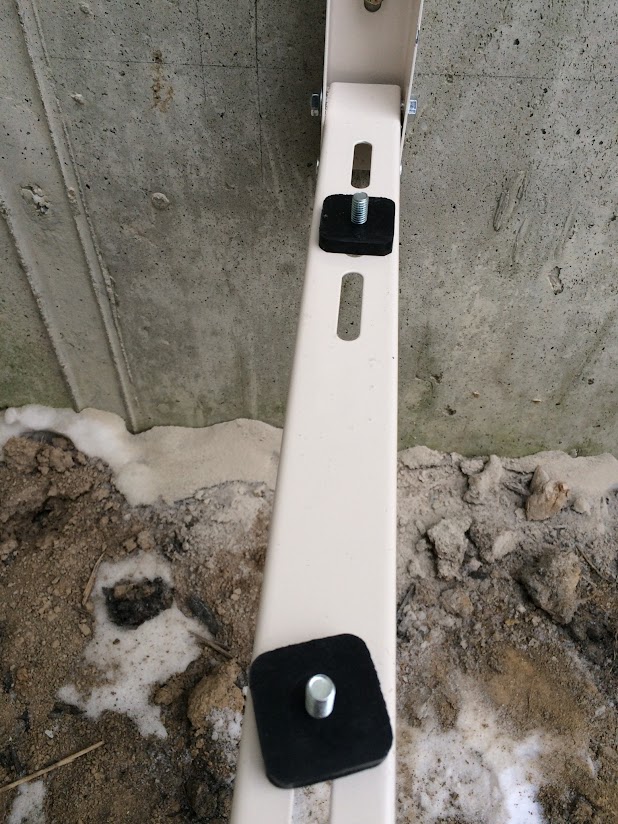
6. While aligning properly, I carefully placed the condenser on the rubber pads with bolts protruding through the holes, placed metal washers, then plastic washers and finally tightened with bolts using 9/16 inch wrench, while holding the bolts with 9/16 inch socket wrench.
This part of the installation was complete and I was ready for next phase.
Tags: BRK-FLD-2PINSTR
If you have an office chair that won’t stay up anymore you have a few options for a fix. You can replace it with a new cylinder for around $20 or so, or if you always maintain your chair at the same height level (like I do), you can permanently fix your cylinder at next to no cost and relatively low DIY difficulty level.
Here is the material and tools list to get the job done in about 15 minutes:
Step 1.
Remove the retaining clip by pushing it from the side with a screwdriver tip and slide out the chair base with wheels.

Step 2. Measure and cut the PVC pipe to a desired length with a hacksaw or a pipe cutter and slide it onto the cylinder.

Step 3. Put the smaller diameter plastic cylinder skirt (if included with your chair) in a reverse direction so that it covers up the PVC pipe. Slide the larger diameter plastic skirt in a normal direction to cover up the base of the cylinder.

 Step 4. Slide the wheel base back onto the cylinder and fasten it with the retaining clip.
 Done! Your office chair will no longer adjust in height, but you will have a working chair with fixed height, as a permanent, or as a temporary fix, until your new cylinder arrives.